- 17th September 2015
Youssef Kababe
Long gone are the days where developers used to download dependencies manually, place them in their project folder, and include them in their web page using multiple script and link tags. The fast evolution of web development gave birth to a wide variety of tools that help developers speed up their workflow, write clean code, automate repetitive tasks, and maintain maximum performance.
A modern front-end workflow would be as follows:
- Using Bower to easily manage the packages your project depends on.
- Using CSS and JS preprocessors for code modularity and simplicity, for example Less and CoffeeScript.
- Using a task runner, Gulp or Grunt, to automate assets compilation and minification.
This was my personal setup a while ago before changing some parts recently.
As you probably know, npm is the larget ecosystem of open source libraries in the world. And alongside being a powerful package manager, npm can also be used as a simple script runner, which we can benefit from to avoid the need of any other task runners. Furthermore, many people mistake npm as being a package manager for back-end libraries only, or as being the “Node Package Manager”, that’s totally wrong! npm contains all open source libraries related to HTML, CSS, and JavaScript. You can read more about that in this post from npm’s blog.
With that being said, It’s clear now that you don’t really need all the tools I stated above to manage your front-end project, you can literally use npm to do everything and that’s what we will do now! We’ll create a simple website by managing everything using npm!
The setup
The first step to start building our website is, of course, to create a folder where we will put everything, then we will use npm init to set it up:
1 | $ mkdir Lab/website && cd Lab/website |
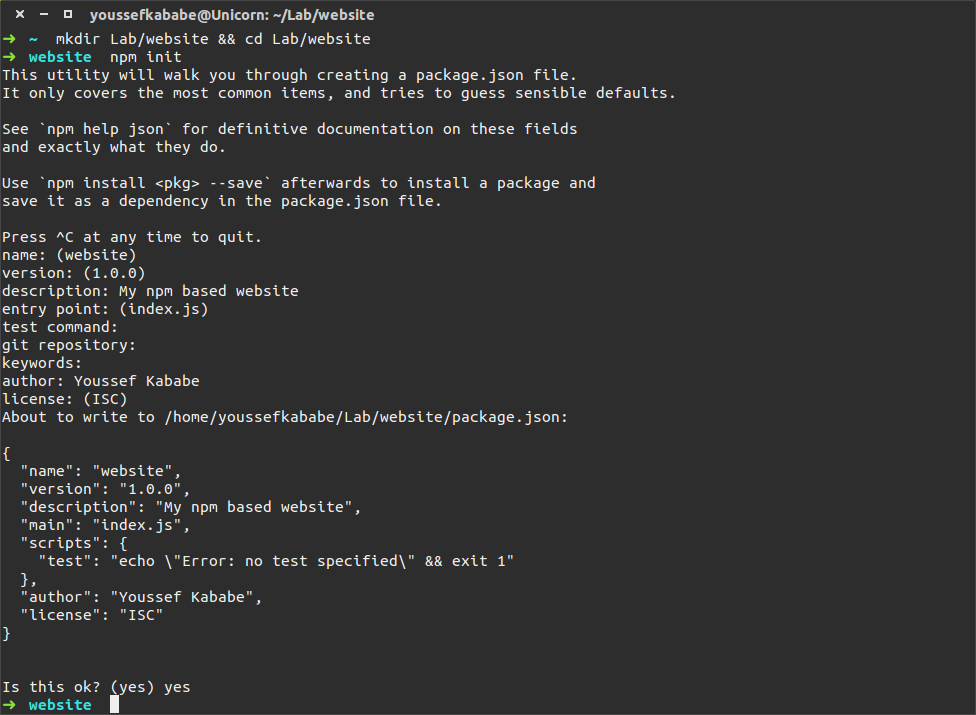
npm init will take you trough some simple steps to create your package.json file, this is the file that will keep track of all your project’s dependencies, and this is where you will also be writing the tasks you want to automate.
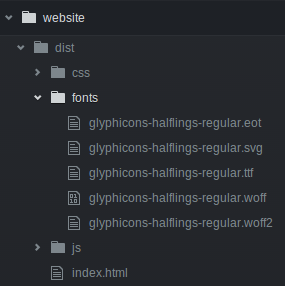
Let’s now take care of setting up our project’s structure:
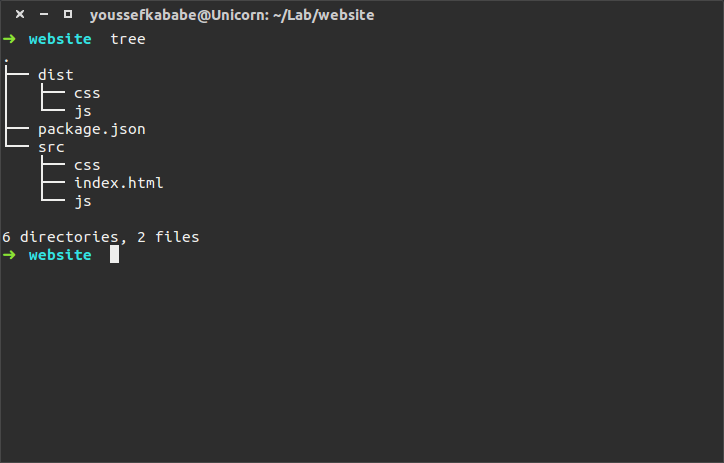
As you can see from the picture, we will have two main folders, src and dist. The first one will contain the plain source code of our website, while the second one will contain the production version with compiled and minified assets.
HTML
The next step is to setup our index.html page:
1 | <!DOCTYPE html> |
As you might have noticed, I have put just one link and one script tags, because the idea is that all our CSS and JavaScript files will be compiled and concatenated into one single file. This will make our website renders faster because we will make less request to the server and we’ll have less files to fetch!
Now is the time to minify our cool HTML page and save it to the dist folder! For this I’m going to install a package called html-minifier from npm:
1 | $ npm install html-minifier --save-dev |
The reason I added –save-dev is to save the package as a development dependency in our package.json file, this also adds the package to the ./node_modules/.bin folder so it can be executed using npm.
Now to minify our HTML page we should normally type the following line in the terminal:
1 | $ html-minifier --collapse-whitespace ./src/index.html -o ./dist/index.html |
Tried it? Didn’t work, right? The reason it didn’t work is because we didn’t install the package globally and your system doesn’t know where to find html-minifier. We should instead add the line above to our package.json file as a script and run it using npm:
1 | { |
You can give your script any name you like, I chose “html” just for simplicity. We can now execute our script like this:
1 | $ npm run html |
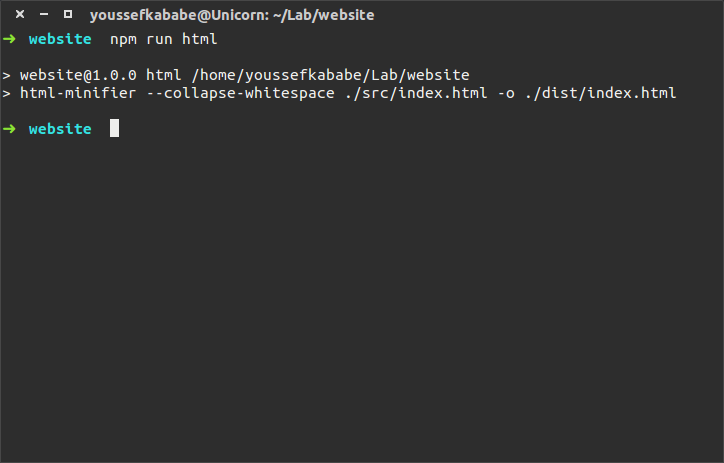
You will then find your minified web page inside the dist folder. Minification removes all the unnecessary stuff like comments and white spaces, thus producing files with smaller size, which gives our website’s loading speed an important boost.
CSS
I’m going to use Stylus as my CSS preprocessor, so we’ll start by installing the Stylus package from npm:
1 | $ npm install stylus --save-dev |
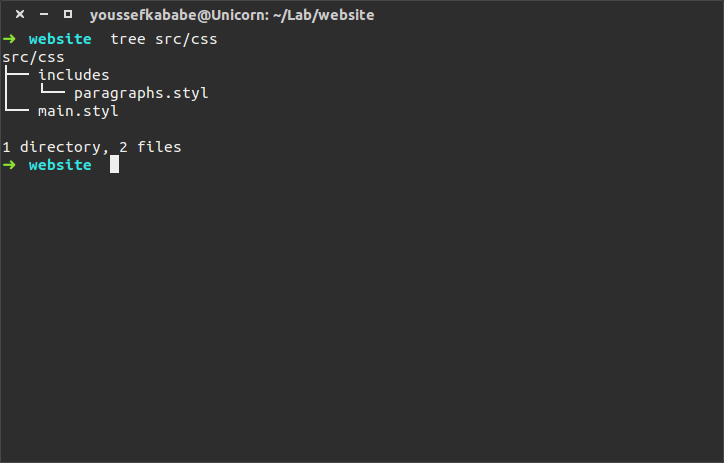
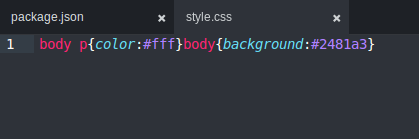
You should always make your style files modular, which means you need to have one main file that includes styles from other files in the directory. I usually create a folder called “includes” where I put all the files that I will be including.
1 | body |
1 | @import "includes/paragraphs" |
The next thing we should do, as you might have guessed, is to add a task to compile and minify our CSS:
1 | ... |
The last thing to do to compile your CSS is to type “npm run css“ in your terminal, then you should able to see your compiled and minified code in the dist directory:
Notice that I added “–include ./node_modules –include-css“ to our script, the reason for this is that you might want to include CSS files from other npm packages. For example, let’s say we want to add Bootstrap to our project:
1 | $ npm install bootstrap --save |
This time I used –save instead of –save-dev, that’s because we’re not going to use Bootstrap in a npm script. npm will now take care of fetching the package with all it’s dependencies (except development dependencies) and place everything in the ./node_modules folder.
The next step is to include Bootstrap’s CSS file in our main.styl file:
1 | @import "bootstrap/dist/css/bootstrap.min.css" |
We’re done! We have now successfuly added BootStrap’s CSS to our project. When you compile your CSS next time, Stylus will look for “bootstrap/dist/css/bootstrap.min.css“ inside ./node_modules and include it. You see how easy it is? No more downloading, extracting, or copying!
JavaScript
I’m going to use just plain JavaScript in my project, with the help of Browserify and UglifyJS.
Browserify is a tool that lets you include npm JavaScript modules in the browser using the CommonJS require style, so you can require modules and other JavaScript files like you would do when developping a Node.js application.
Then we will pipe Browserify’s outpute through UglifyJS to have a minified JavaScript files.
Let’s install Browserify and UglifyJS now:
1 | $ npm install browserify uglify-js --save-dev |
We’ll include Bootstrap’s JavaScript from the package we installed earlier in the CSS section, and because Bootstrap depends on jQuery, we also have to install it too:
1 | $ npm install jquery --save |
Now we’re ready to write our main JavaScript file.
1 | var $ = require('jquery'); |
As you can see from line 2, I exposed jQuery as a global variable, if we didn’t do this, we’ll get a “ReferenceError“ telling us that jQuery was not defined. That’s because Browserify bundles your required libraries in a way that they can never conflict with each other, which makes libraries that depend on jQuery unable to find it. So you have to manually expose jQuery to the global (window) object.
You can do the same thing we did with CSS and create a folder called “includes“ to keep your code modular instead of putting all the JavaScript in the main file.
Now to compile and minify our JavaScript file, we’ll add the following script to the package.json file:
1 | ... |
Fonts
Some npm packages like Bootstrap and Font Awesome come with font files bundled in them. For now, if you try to add a Bootstrap icon to your website, it will not render correctly because Bootstrap fonts are missing.
Unless you’re not too lazy like me, you really don’t want to be copying font files manually from the ./node_modules folder, for each package, to put them inside your dist folder. As a workaround to this issue, I ended up making a little package called Fontify which will do that for you:
1 | $ npm install fontify --save-dev |
Fontify requires a little configuration file called “fontify.json“ on the root directory of your project, you will use this file to tell Fontify which packages you want to copy font files from, and where you want to put them:
1 | { |
Finally we’ll add a npm script for this:
1 | ... |
Now type “npm run fonts“ in your terminal and you’ll find that all Bootstrap fonts were carefully copied to ./dist/fonts folder:
Automate the build process
Automation has been keeping developers from losing their minds and going crazy for ages! This is why we won’t be executing our scripts manually one by one everytime. We will instead automate the building process step by step.
First thing to do is to make a script that will build our entire project at once:
1 | ... |
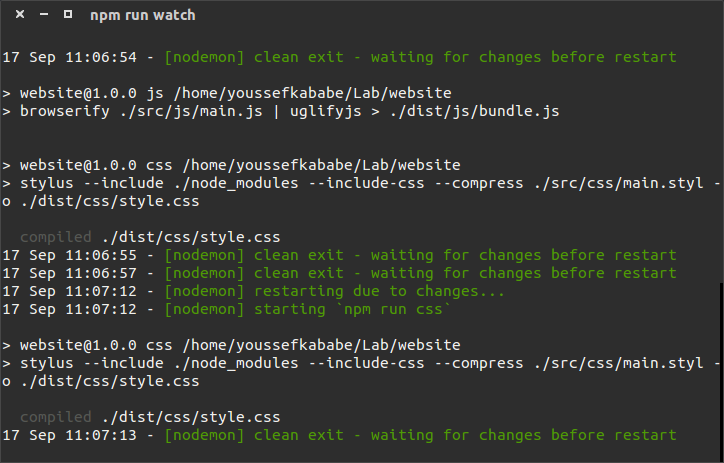
We will continue further with the automation process by watching assets files and executing scripts automatically when any change happens. To accomplish this task, we will use the Nodemon package from npm as it’s the right tool for this job:
1 | $ npm install nodemon --save-dev |
1 | ... |
Now when you type “npm run watch“, Nodemon will start watching all our assets and will execute the right command depending on what has been changed in your project directory:
Live development server
It would be awesome if our web page could refresh itself automatically when we make some changes instead of manually refreshing it everytime! live-server is an awesome development server with live reload capability, so we’re going to install it and use it for our project:
1 | $ npm install live-server --save-dev |
Then we’ll add a script that will watch our assets and lunch the development at the same time:
1 | ... |
All you should do now is typing “npm run server“ in your terminal, this will make Nodemon watch you source files for changes and recompile them automaticall, and launch a live development server on port 3000, the server will be watching files in the ./dist folder for changes, and will reload your page whenever it detects something.
The end
Your final package.json file should look something like this:
1 | { |
Using stylus and plain JavaScript is just a matter of choice, you can replace them with anything you want and you’ll always find tha packages you need on npm. You can also structure your project in any way that suits you the best!
Another thing you can do is to use what we did in this tutorial as a reusable skeleton for your future front-end projects instead of starting from scratch each time.